
Import Contacts
Quickly import your business contacts from Google or Office 365 to Nextiva. Click
Contacts > Add Contact > Add multiple business contacts. Select Google Contacts or
Office 365 and sign into your account. You can also choose to keep the contacts private or
public to all teammates. Click Import contacts when ready.
Contacts
Click Contacts to view all saved business contacts and teammates. Teammates are other users on the same account. A business contact may be a customer or potential prospect. There are specific features only available for teammates, such as team presence and the ability to send and receive internal chat messages.
You can set business contacts to be public so all teammates can see the contact details, or you can set them private so only you can see the contact details. All public contacts can be edited and deleted by other users on the account. Whereas, private contacts can only be edited and deleted by the user who created the contact. Hover over any contact to view contact details or click on any contact to view their full profile – including the entire conversation history.
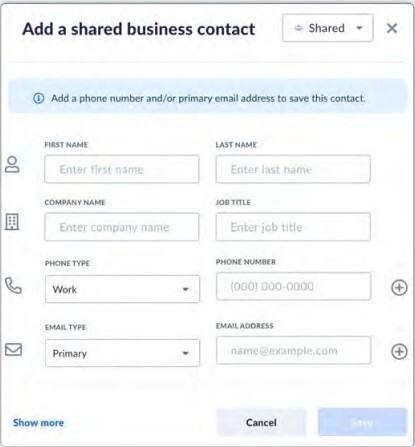
Adding Contacts
To manually add a contact, click Contacts > Add contact > Add a business contact .
Enter the contact details, and choose to make the contact private or shared. Click Save.
Adding Favorites
Add contacts, teammates, and rooms as favorites so they are easily accessible. Click the Star next to the contact or room.
Adding Notes to Contacts
Select Add note on the lower left of the contact’s profile.
Editing Contacts
Select the contact to view their profile and click the ellipses > Edit contact.
Deleting Contacts
Select the contact to view their profile and click the ellipses > Delete.